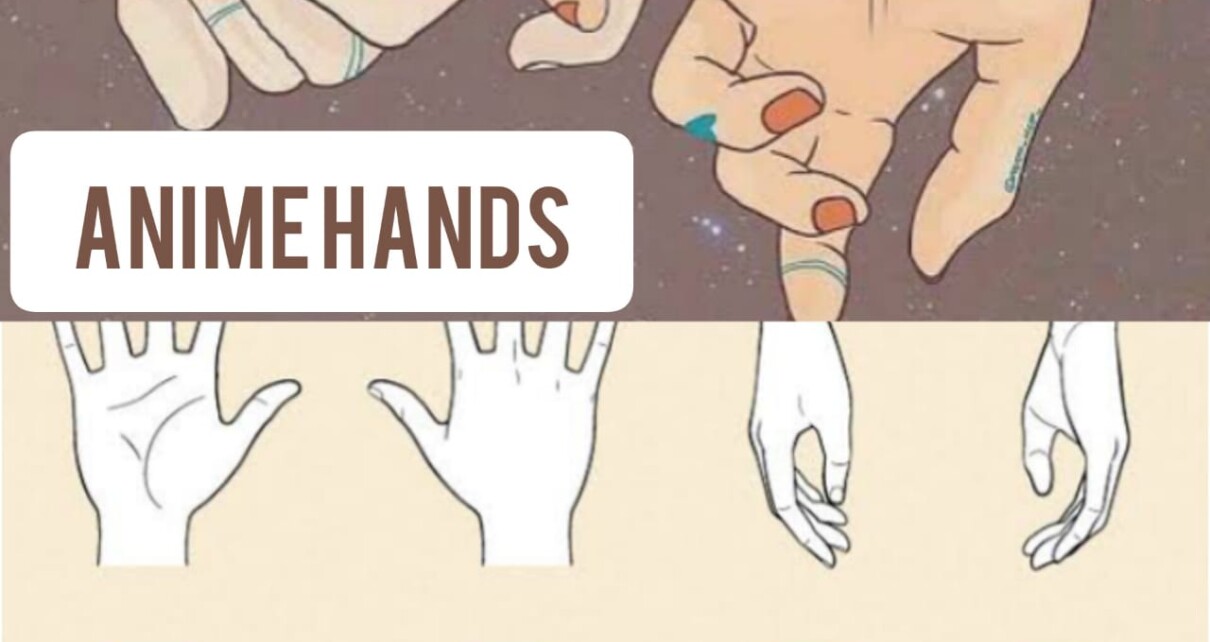
Anime Hands: Even with the simpler lines of anime and manga, drawing hands may be challenging. The structure of the hand is explained, and some basic drawing examples are provided to help. It lays out the bones and provides a rough breakdown of the dimensions.
If you aren’t drawing digitally, you should probably start the instruction with a pencil so you can delete the overlapping lines as you go along. Keep your first strokes soft so they’re easy to erase afterward. Once the major features of the hand are sketched in, you may go back and darken the details. This article will discuss Step by Step Tutorial to draw Anime Hands.
Table of Contents
Drawing Anime Hands With an Open Palm
If you are just starting out, you should obtain a sense of the proportions of the hand by drawing it with the palm open and the fingers stretched out. This is a good exercise for beginners. As an additional source of reference, you may also look at images, other drawings, or even your own hands.
Step 1:
Step number 1 is given below.
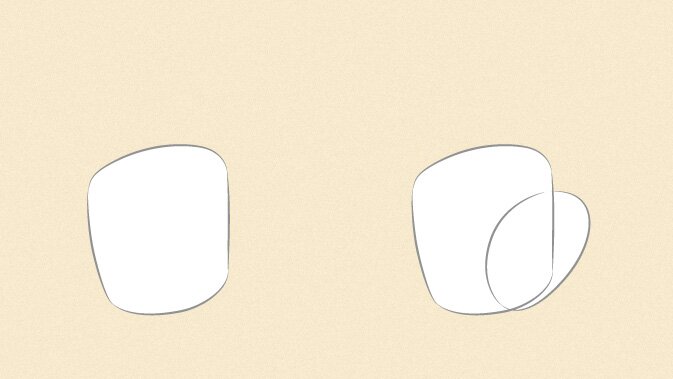
Draw the Palm & Base of the Thumb
First, sketch out the general outline of the palm. The next step is to sketch a rough outline of the bottom of the thumb. The palm, being the more important shape, should naturally take up more space.
Step 2:
Second step is given below:
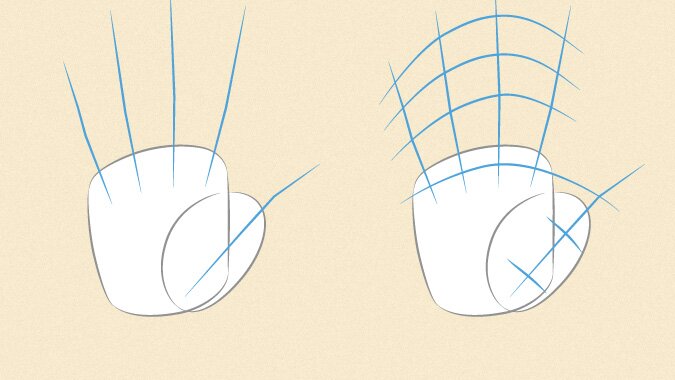
Get the Position of the Fingers
Examine the dimensions of the fingers carefully. In the first illustration, the lines demonstrate their overall direction as well as the bends that correspond to this particular stance. The second set of lines illustrates the location of the joins as well as the conclusion of the fingertips (the final curved line).
Step 3:
Next step is as follows:
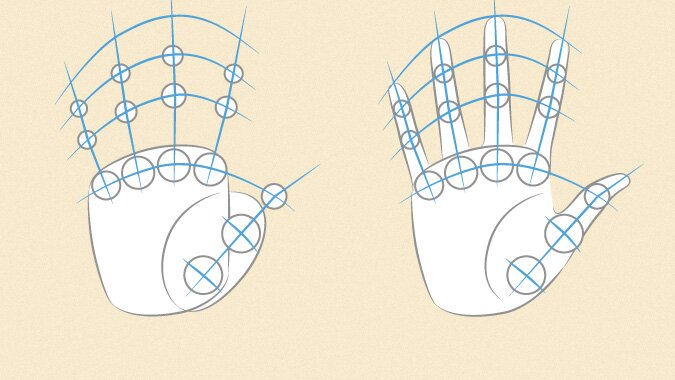
Proportion and Outline the Fingers & Thumb
The initial set of joints (near the base of the fingers) really protrudes into the palm, which is something to keep in mind. The lengths of the palm and middle finger should be comparable. If your thumb is held at a 45-degree angle to your hand, the tip should reach the knuckle bone of your index finger.
There are three sections to each finger, with the longest being from the knuckle to the first join and the shortest being from the last join to the tip. In reality, the thumb’s initial joint is hidden towards the palm’s base. The first joint that anyone can see is actually the second.
The middle finger is the one that should be drawn as the longest and thickest while outlining fingers. It’s ideal to have a shorter index finger, a shorter ring finger, and a shorter, thinner little finger.
Step 4:
It’s the last step.
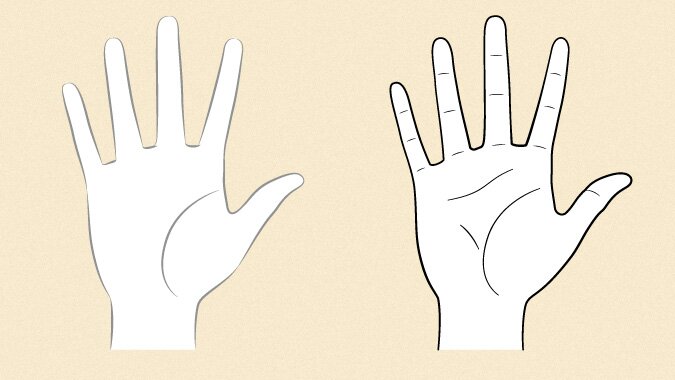
Clean Up & Finalizing the Open Palm Hand Drawing
After you have drawn the outlines of the fingers, erase any unnecessary lines left over from the previous steps, and add a portion of the hand to the base of the palm. The next step is to draw some wrinkles around the palm, the fingers, and the thumb.
In most cases, these will be present on the fingers along the base of the finger as well as along the second and third joints. The joint of the thumb, which is the third one. In addition to this, you may make a couple lines go along the palm like they are seen above.
Simplified Anime Hands
When drawing anime hands, you don’t always have to add all of the details in the palms and fingers of the character. There are occasions when a simple summary of the hand’s primary characteristics is sufficient. You do not have to draw the character’s fingernails, for instance, if the character is going to be in the background and you are drawing them.
Final Thoughts
It requires a lot of effort to be able to draw hands with the correct structure when viewed from a variety of angles. Do not become disheartened if your drawings do not initially turn out how you would like them to; however, it is challenging to draw hands. Your level of artistic ability will determine how well your drawings turn out. You have the potential to get better at anything if you commit to doing it frequently. I hope you find this tutorial useful.
Follow us on our Facebook account…